So How Does It Work?

So How Do You Use The Mould?
-
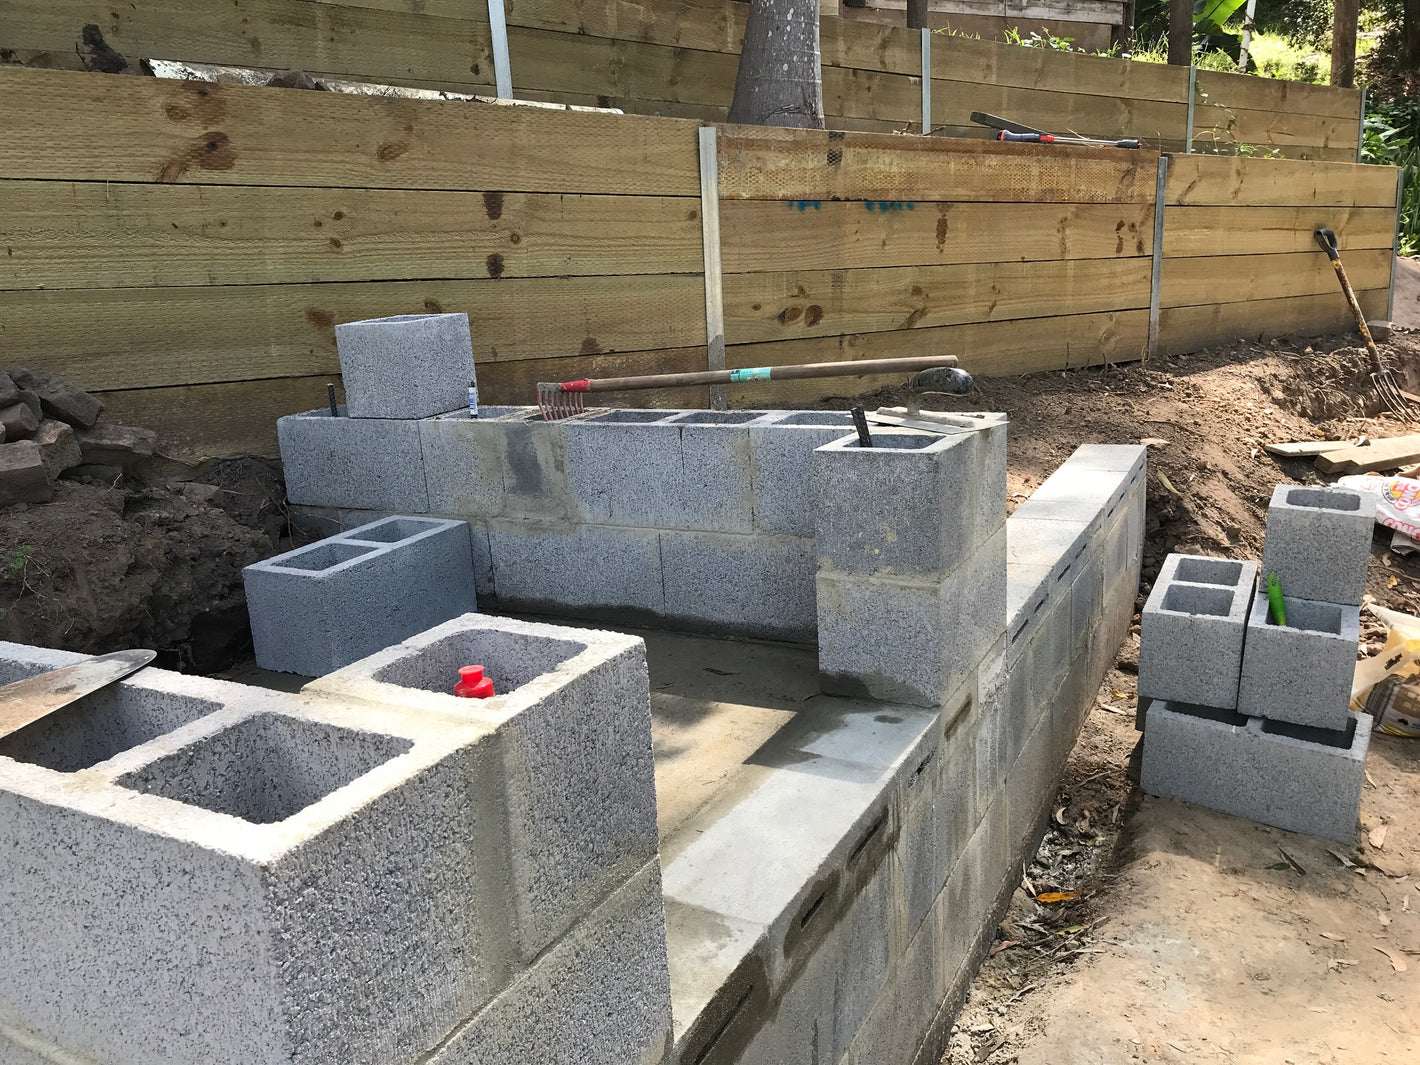
Prepare The Base
Before starting your pizza oven build, it's crucial to design a solid and sturdy base. You can find various designs online for inspiration, but the key is to ensure it can support the weight of the oven. The base serves as the foundation, so it needs to be well-built and level.
-
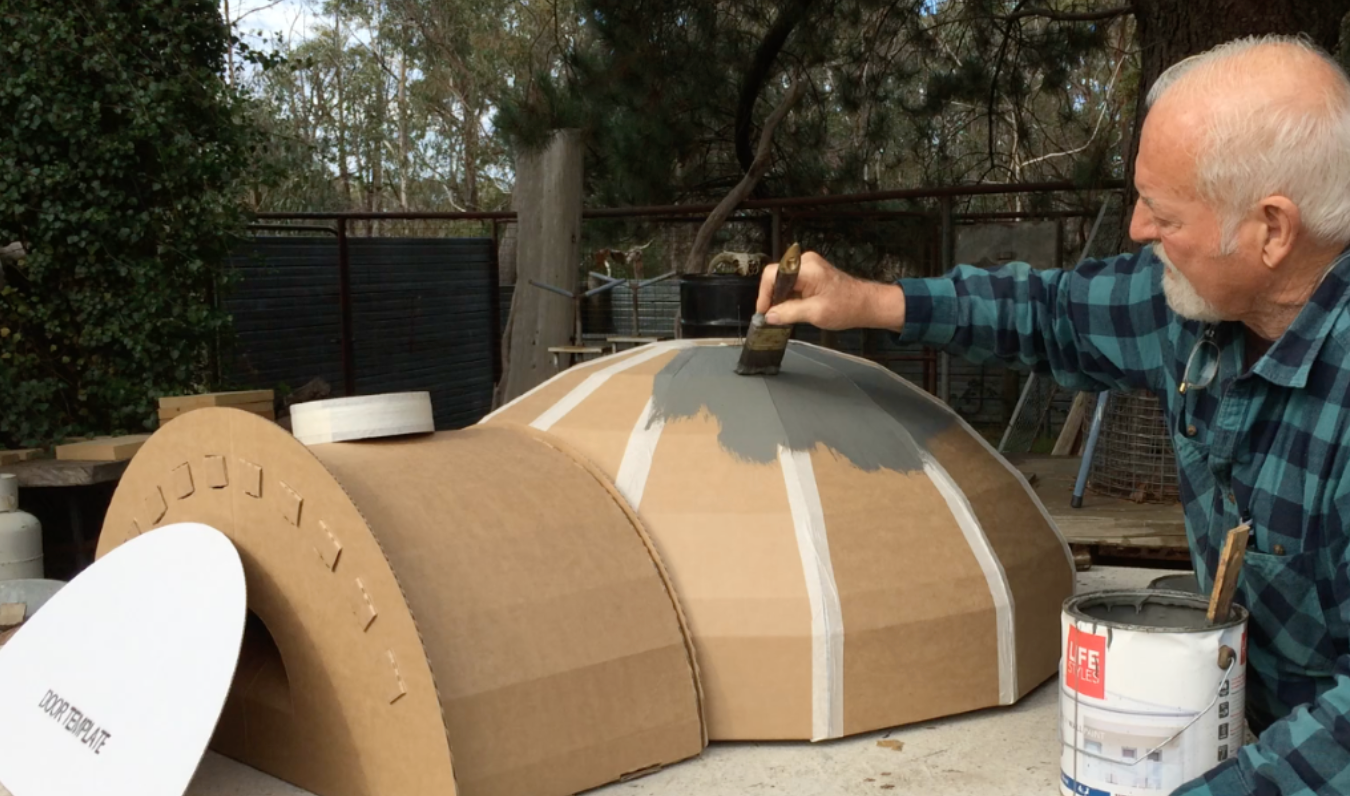
Assemble The Mould
Assembling the cardboard mould is the first tangible step in your pizza oven construction journey. Spend about an hour carefully putting together the mould pieces, ensuring they fit snugly. Once assembled, seal the cardboard with a quick coat of paint to protect it from moisture and enhance its durability. Position the mould on your prepared base, trace its outline, and set it aside for later
-
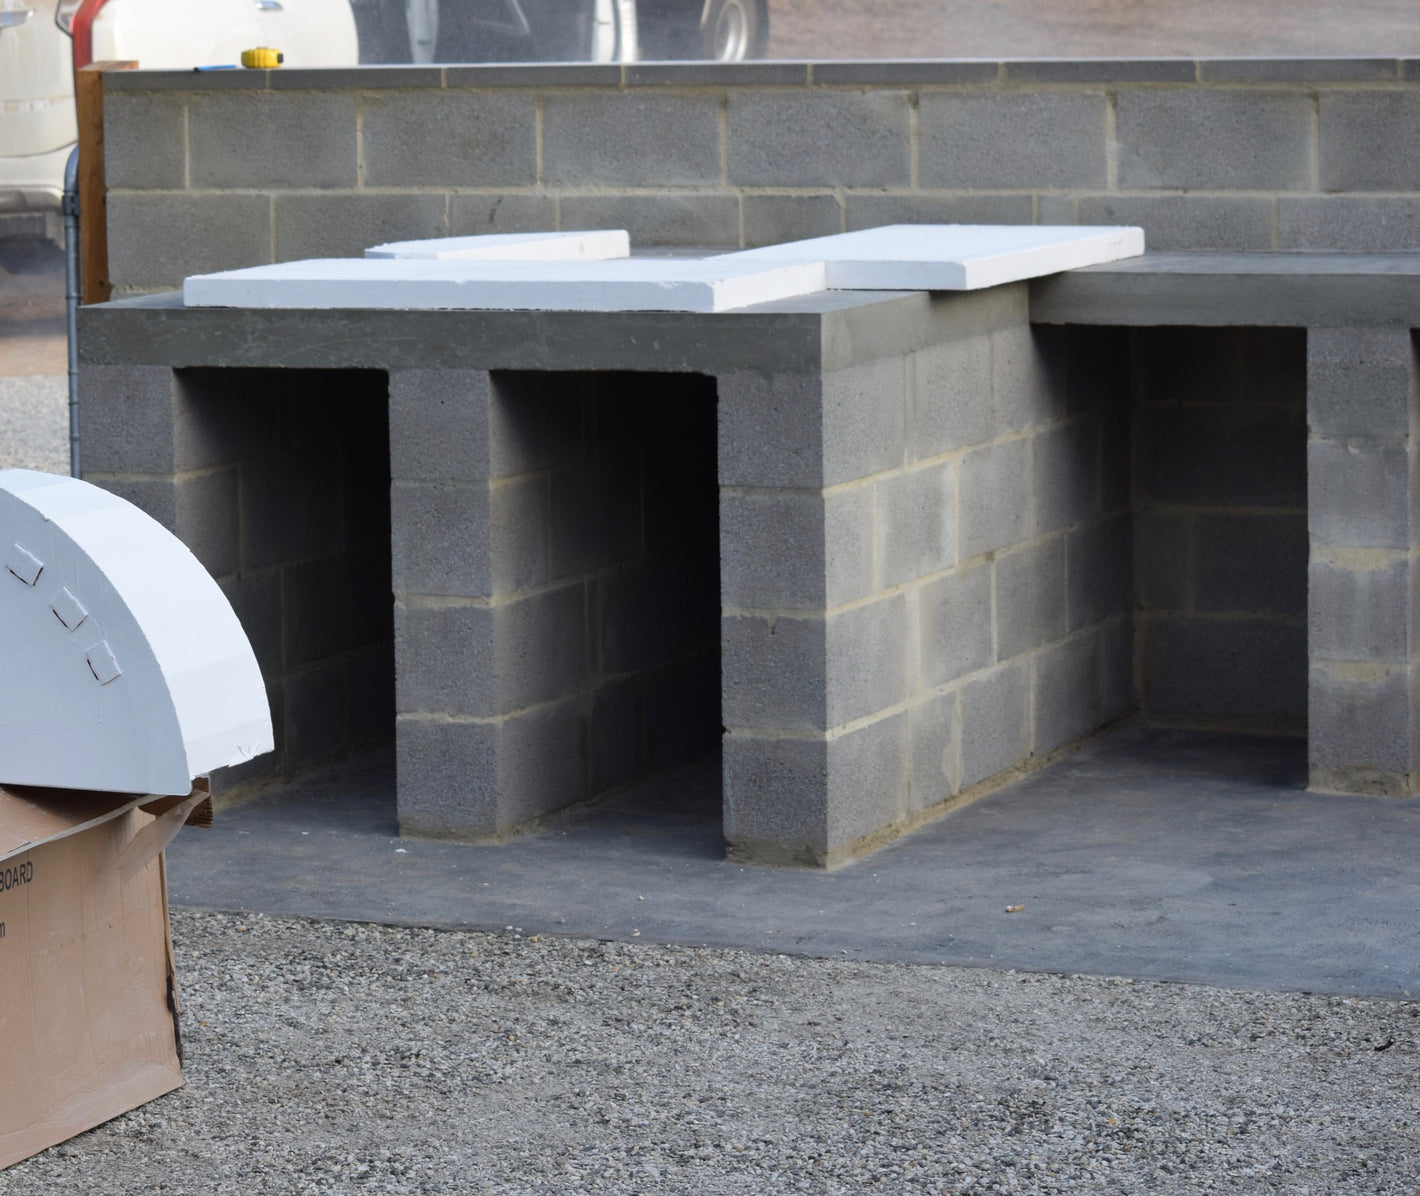
Insulate The Base
Insulating the base is crucial for maintaining heat within the oven floor. We highly recommend using a 25-50mm Calsil board, a lightweight yet sturdy thermal insulation material. This board helps retain heat and ensures consistent cooking temperatures inside the oven. It's essential to cut the insulation board to fit the dimensions of your base accurately.


-

Lay Down The Fire Bricks
Fire bricks serve as the cooking surface for your pizza oven. Arrange them neatly to create a smooth and level surface. The dense composition of fire bricks helps retain heat, ensuring even cooking and crispy crusts for your pizzas and other culinary creations. Ensure the fire bricks are tightly packed and pressed against each other to form a solid foundation.
-
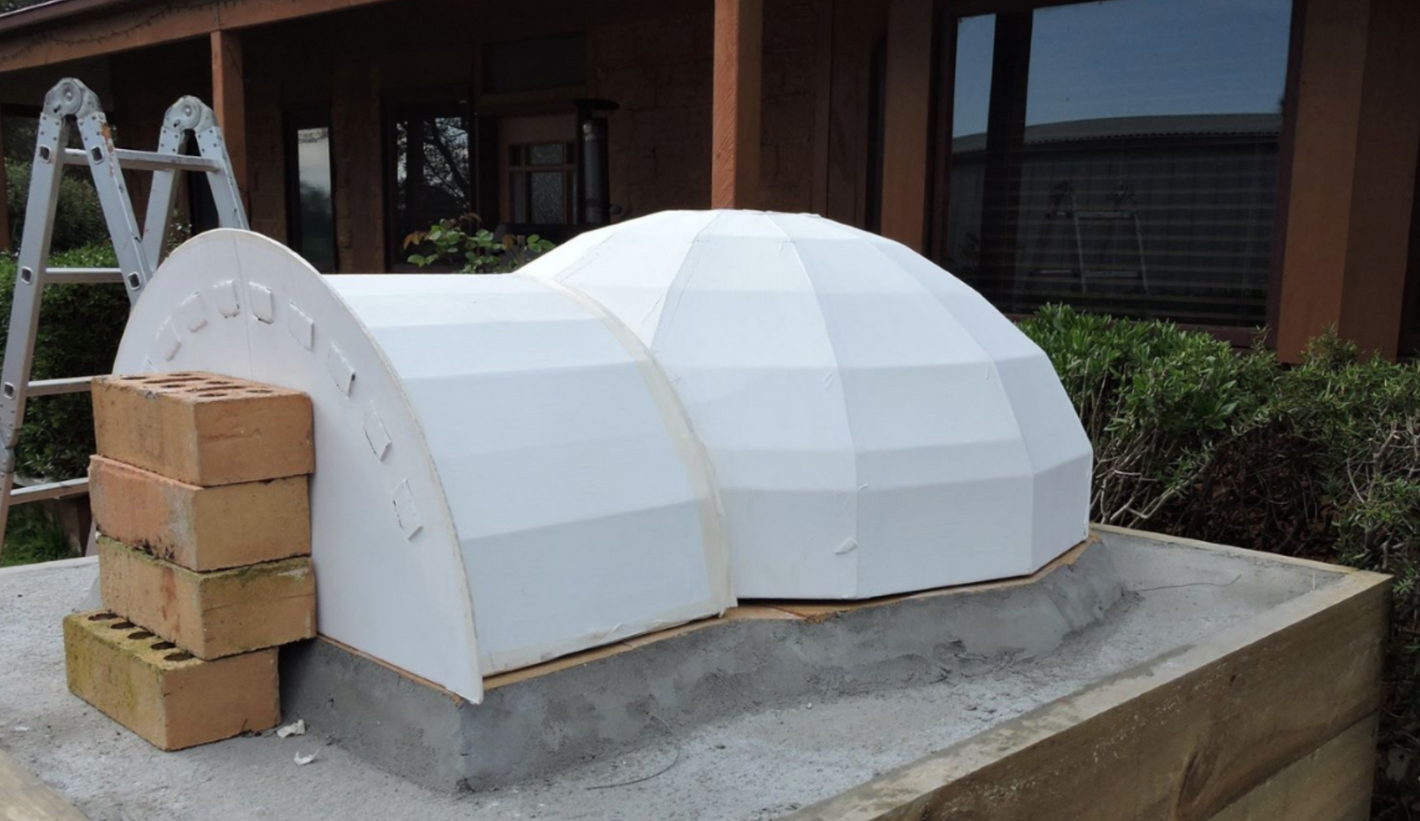
Position The Mould
With the base and fire bricks in place, position the assembled cardboard mould on top. This marks the beginning of the oven's dome construction and ensures proper alignment. Secure the mould in place using bricks or other weighty objects to prevent it from shifting during the next steps.
-
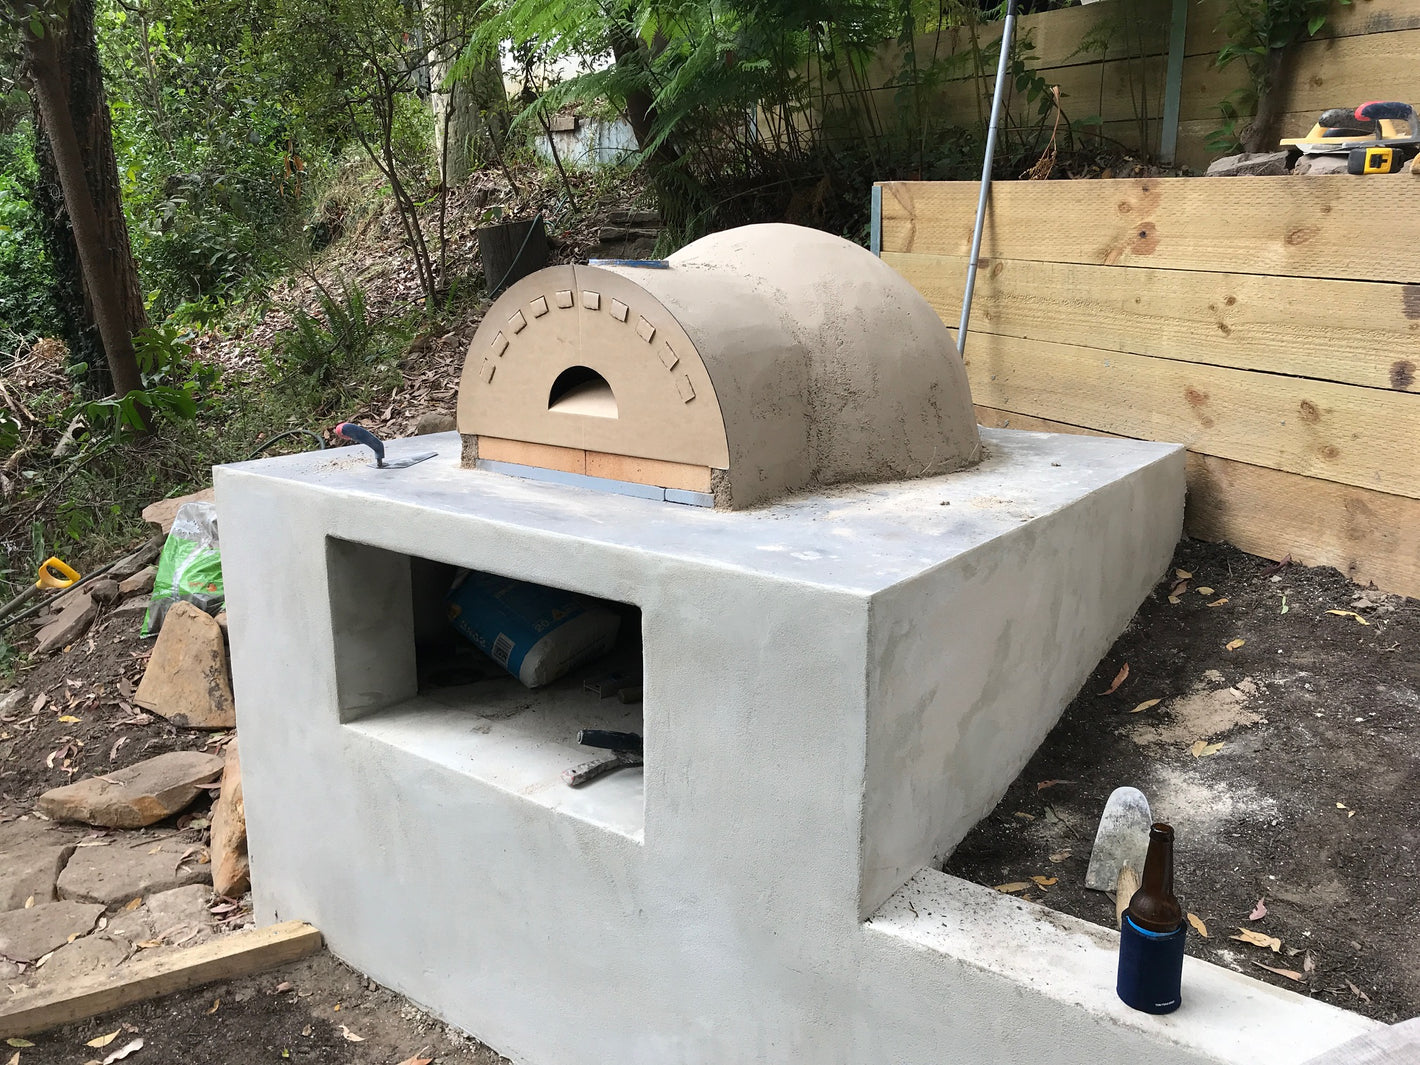
Apply Refractory Cement
Cover the entire surface of the mould with refractory cement. This specialised cement is designed to withstand high temperatures, making it ideal for building pizza ovens. Apply the cement evenly, ensuring thorough coverage over the mould's surface. Refractory cement sets quickly, so it's essential to work efficiently and in small batches.


-
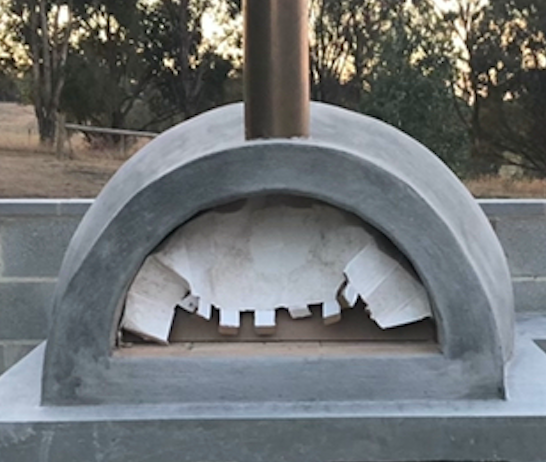
Remove The Mould & Insert Flue
Once the refractory cement has set, carefully remove the cardboard mould. While some parts of the mould may burn out during the curing process. After removing the mould, insert the flue to facilitate proper ventilation and smoke release during cooking. Position the flue securely to prevent any leaks or obstructions.
-
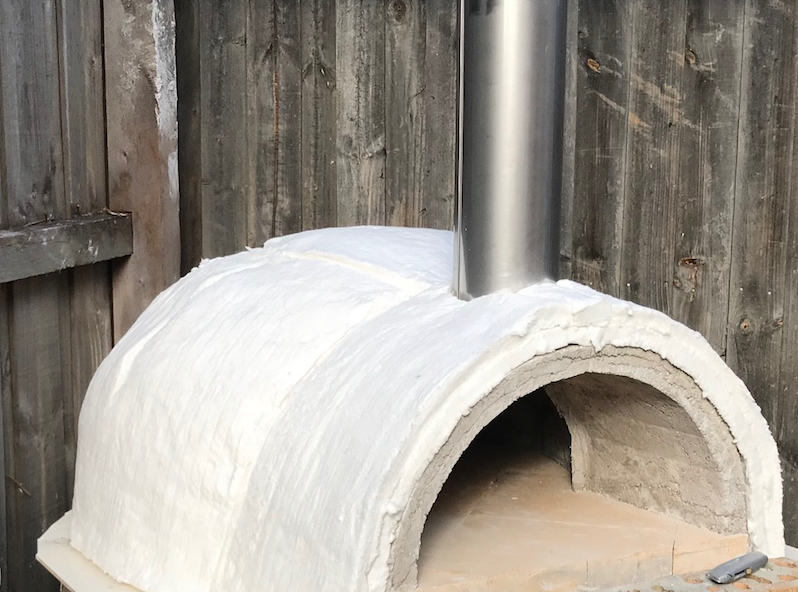
Add Ceramic Fire Blanket
Apply a layer of ceramic fibre blanket over the oven's dome to provide additional insulation. This step helps prevent heat loss and ensures consistent temperatures inside the oven. Ceramic fibre blankets are lightweight, easy to handle, and highly effective at retaining heat. Ensure the blanket covers the entire dome surface evenly, leaving no gaps or exposed areas.
-
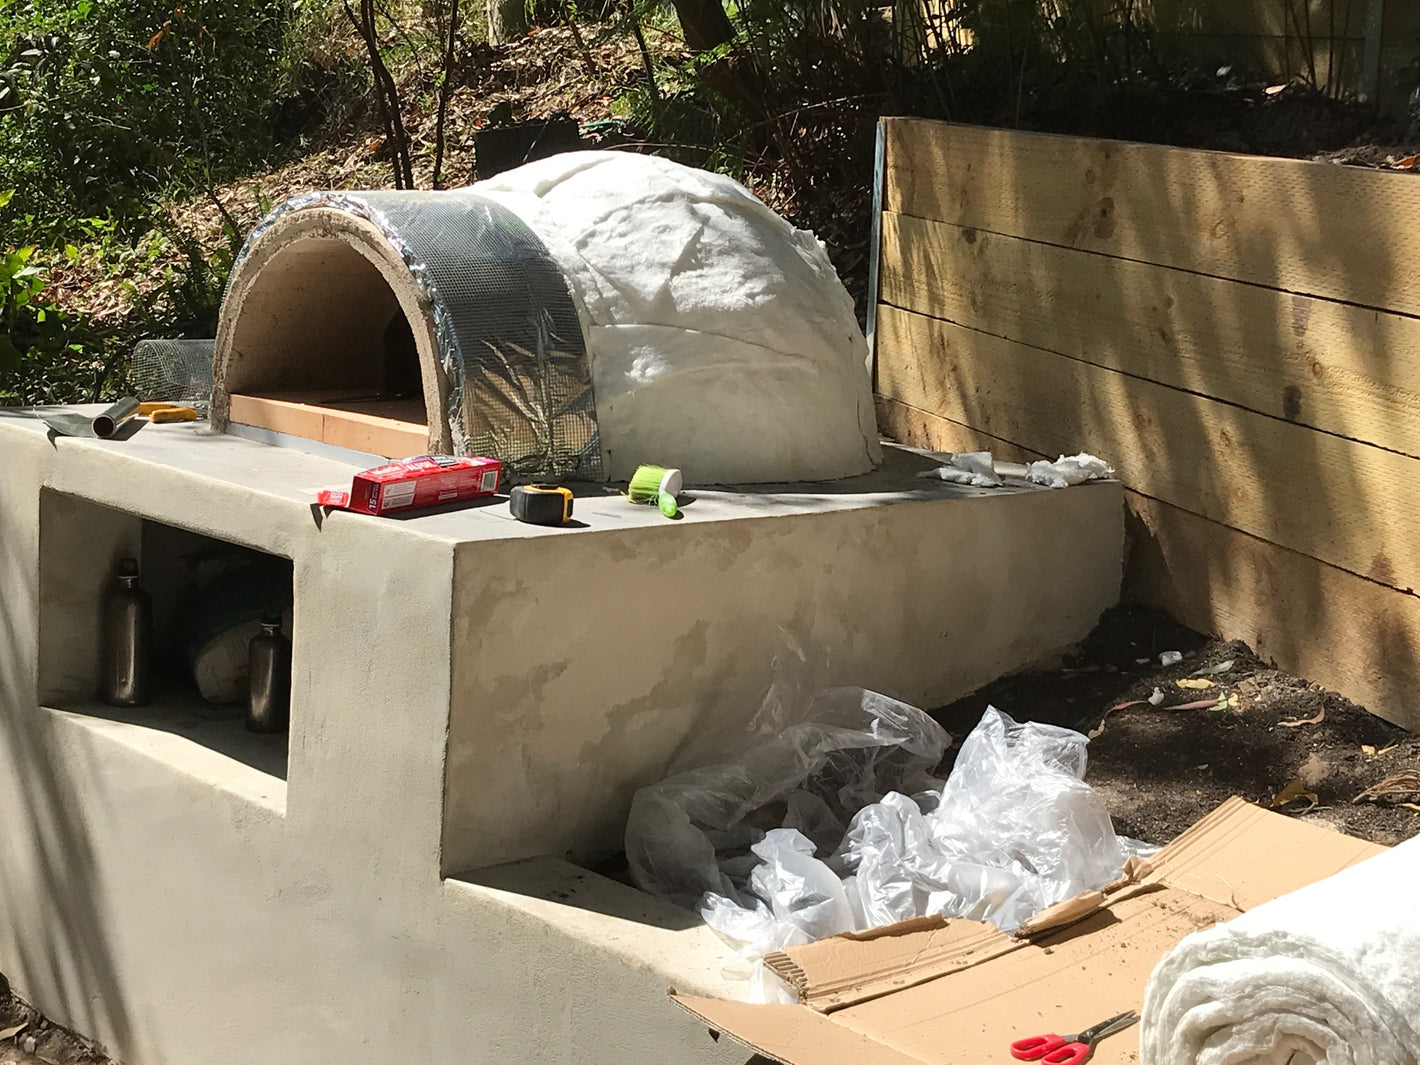
Cover With Foil
Cover the ceramic fibre blanket with a layer of foil to protect it from external elements and provide added insulation. The foil acts as a barrier, reflecting heat back into the oven and preventing heat loss. Use everyday foil or builders' foil for this purpose, ensuring it covers the entire dome surface securely.


-

Reinforce With Chicken Wire
To reinforce the oven's structure and provide additional stability, lay chicken wire over the foil-covered dome. Chicken wire adds strength to the oven's exterior and helps hold the final layers of coating in place. Ensure the wire is securely attached and covers the entire dome surface uniformly, preventing any sagging or shifting.
-

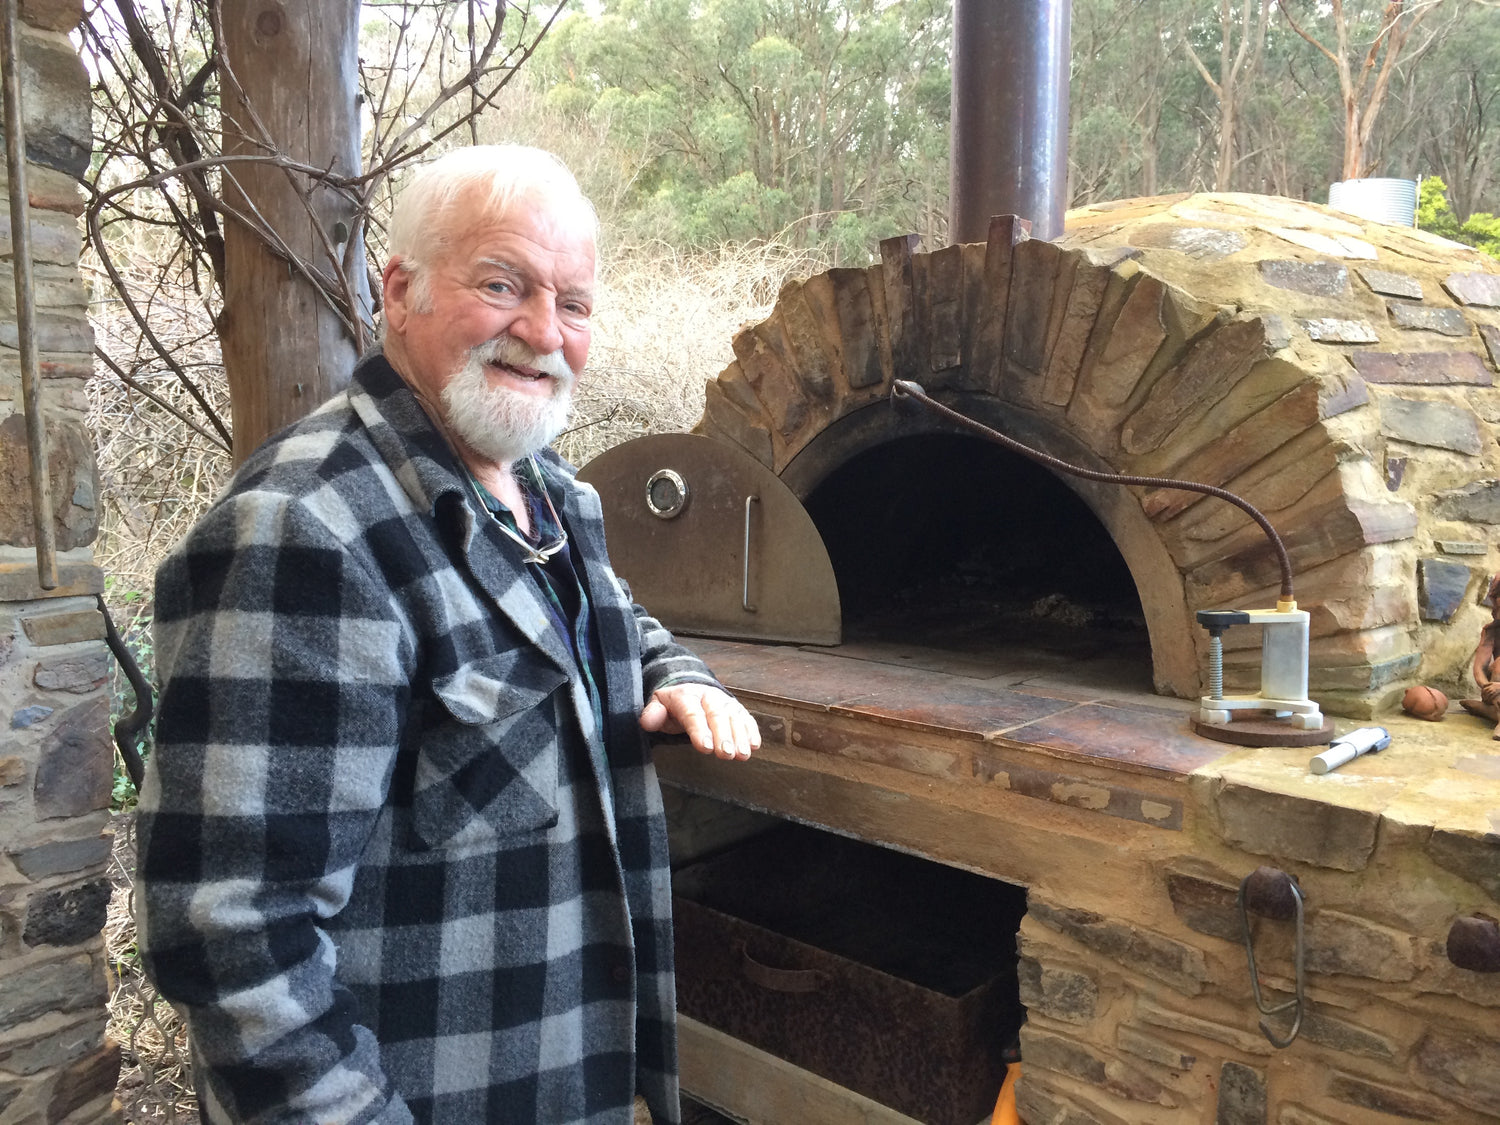
Apply The Final Coat
Finish the pizza oven construction by applying the final coat of your preferred material. Most builders use normal cement render for this step, but you can get creative with your choice of finish. Whether it's bricks, stones, mosaics, or tiles, the final coat adds aesthetic appeal and protection to your oven. Take your time to apply the coating evenly and ensure a smooth finish.
-

All Done!
Congratulations! With all steps completed, your pizza oven is now ready for curing and cooking. Enjoy the satisfaction of building your own outdoor oven and creating delicious homemade pizzas and other culinary delights!


So why build?
Welcome to the world of wood-fired cooking! Imagine stepping into your backyard on a warm summer evening, surrounded by the tantalizing aroma of freshly baked pizza, bread, and succulent roasts—all cooked to perfection in your very own pizza oven.

it's within your reach
Building a pizza oven isn't just about making delicious meals; it's about creating unforgettable experiences. Picture hosting lively gatherings with friends and family, where the wood-fired oven becomes the focal point, captivating guests as they watch pizzas sizzle and bread rise to golden perfection.
a proud moment
But it's not just about the food; it's about the journey. Get started on a DIY project that will ignite your creativity and craftsmanship, adding value and charm to your outdoor space. With sustainability in mind, embrace the eco-friendly nature of wood-fired cooking, using natural fuel sources and minimizing your carbon footprint.

you can cook anything
Indulge in the satisfaction of mastering new recipes and cooking techniques, improving your culinary skills and satisfying your taste buds with every meal. Whether you're a seasoned chef or a cooking enthusiast, a wood-fired oven promises endless possibilities and many food adventures.