FAQ

How To Mix Refractory Cement
FAQ's
-
What size oven?
The perfect pizza oven size? It's all about your lifestyle, space, and how often you crave that wood-fired goodness. Check out our handy buy guide for all the specs you need. Our top picks? The 900mm and 1000mm models.
-

What's in the kit
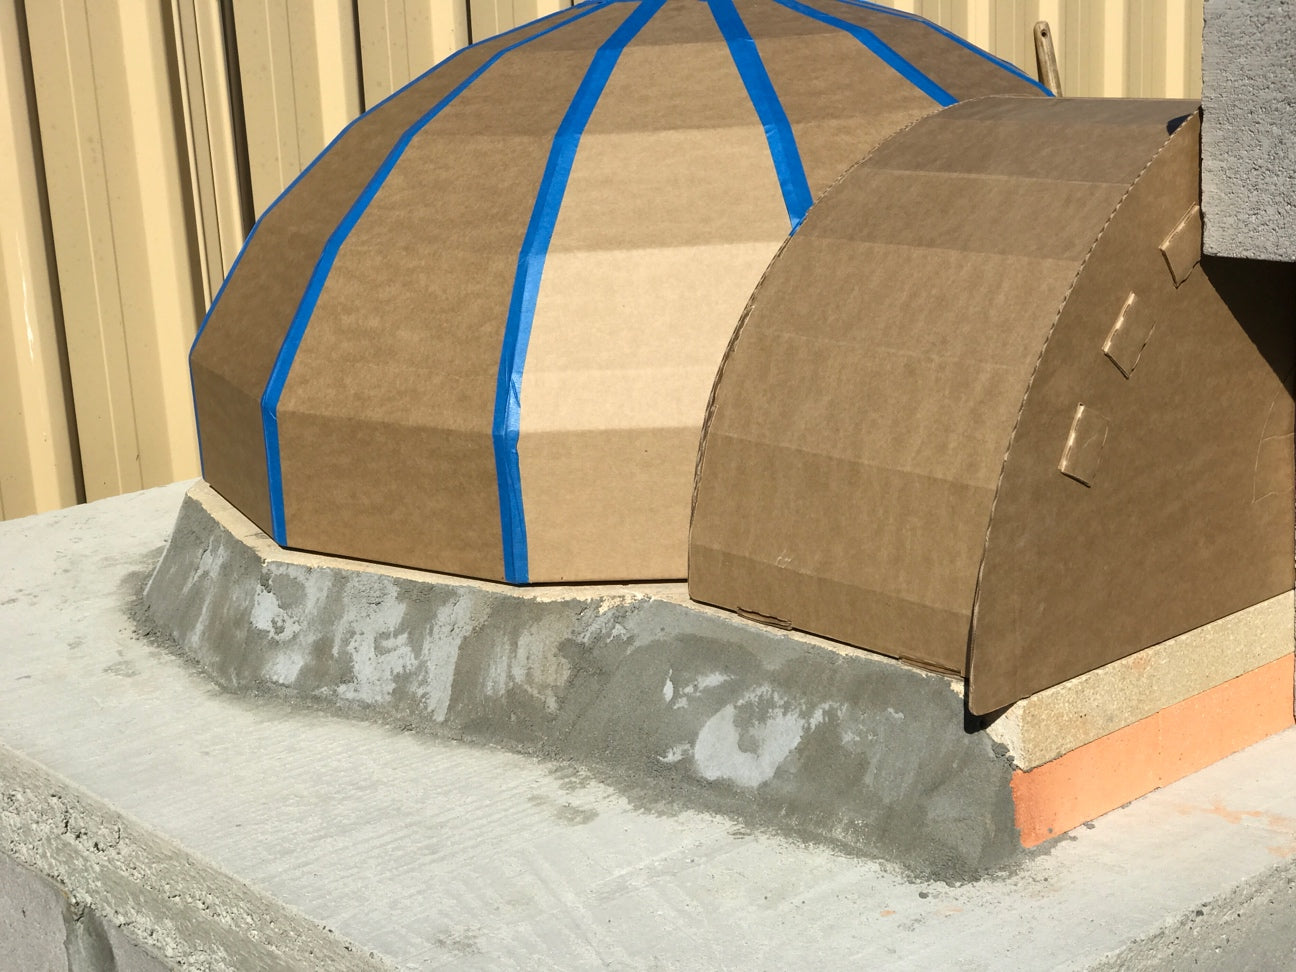
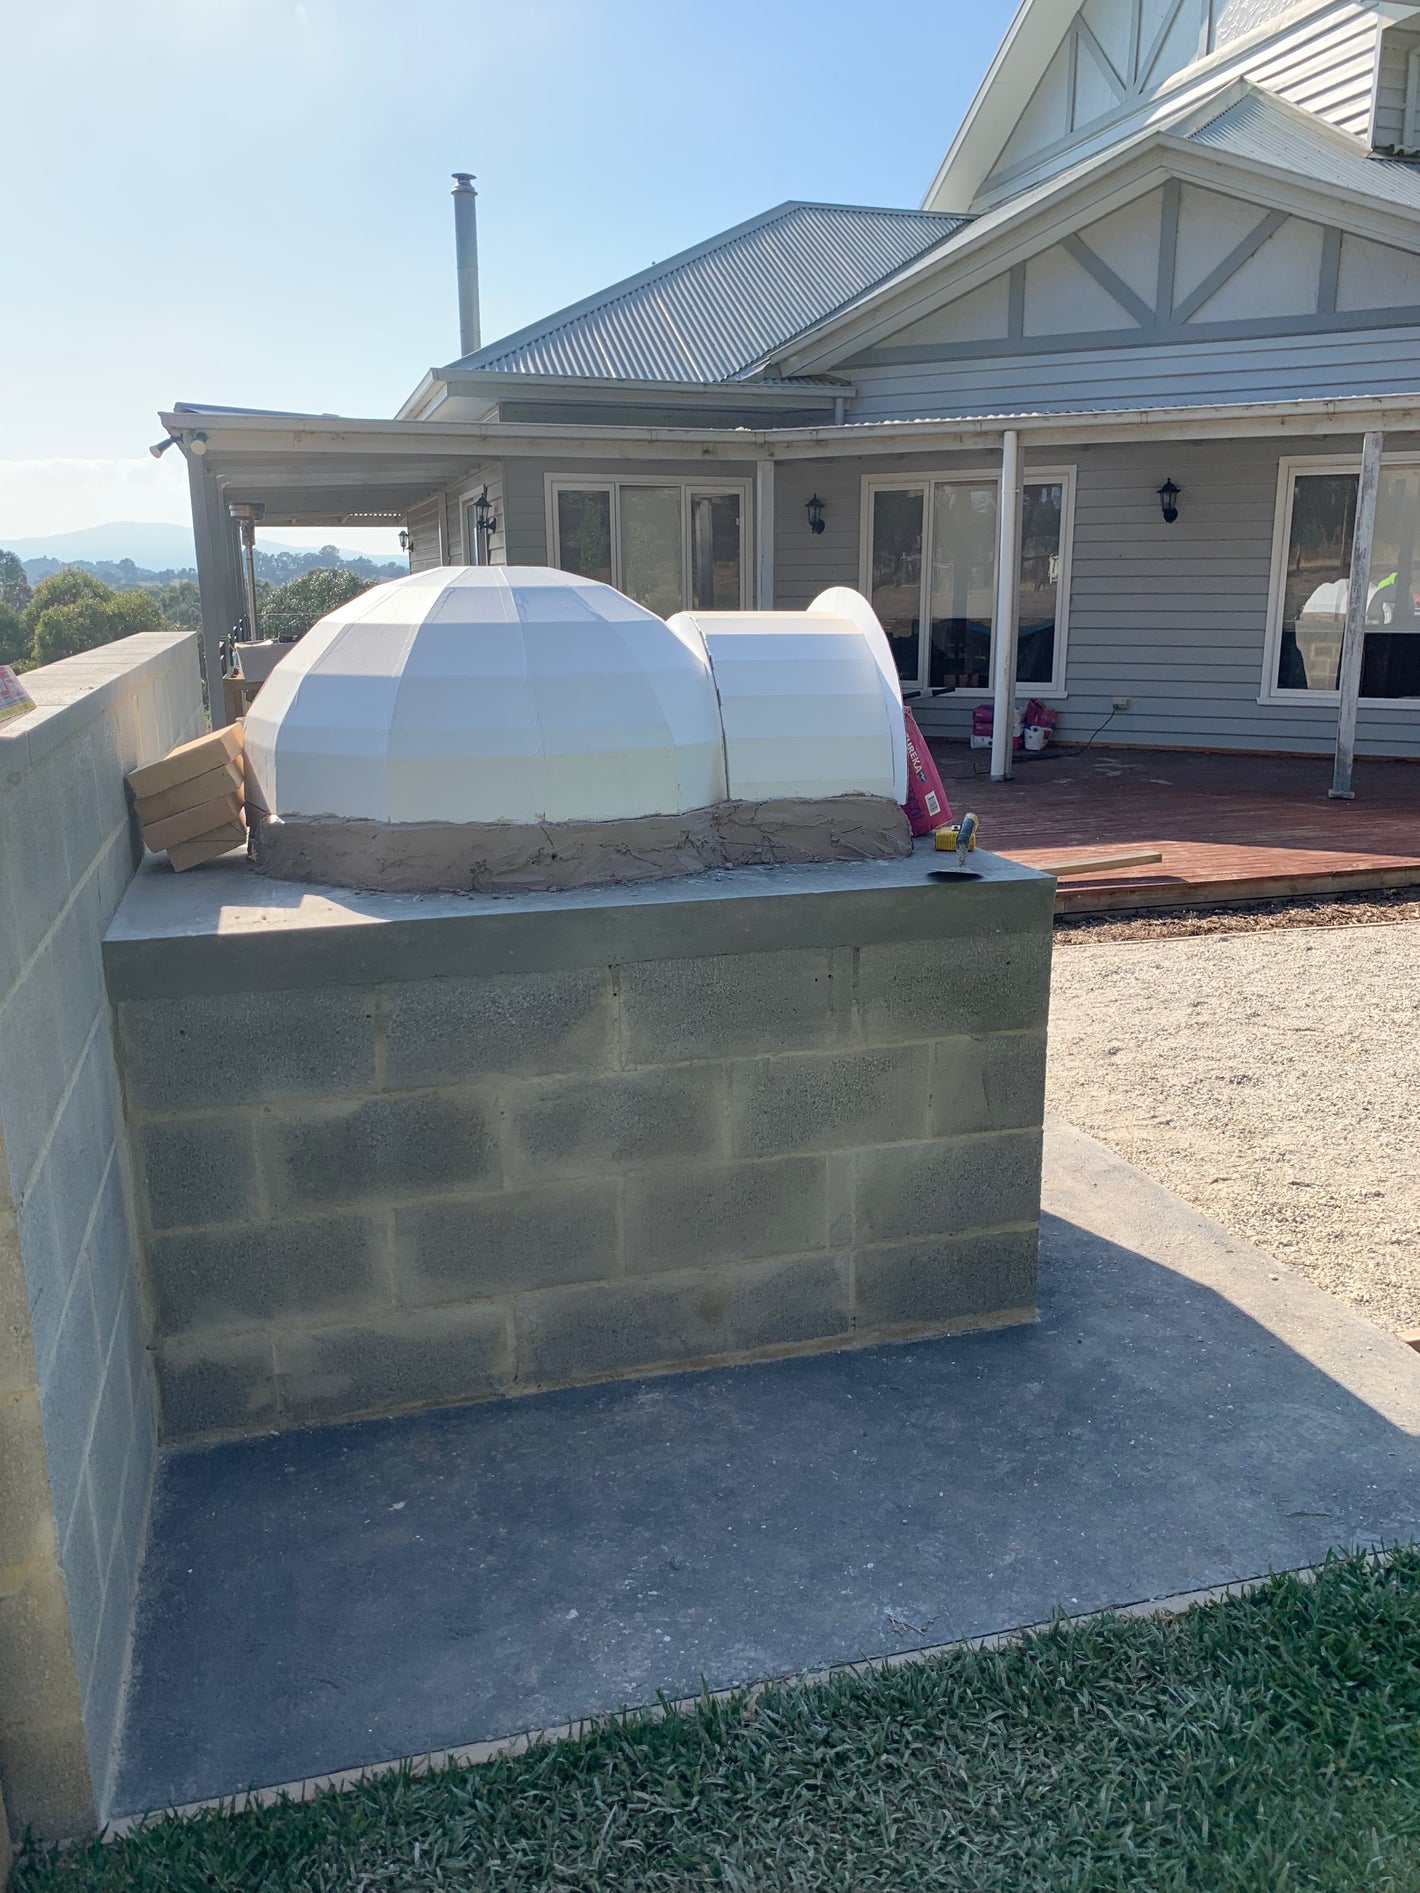
What's included in the kit? You'll find a flat-packed cardboard mould with a precision-cut template for the door. It's durable and ready to assemble, making setup a breeze.
-
How long does it take to build
- Foundation and Base: Allocate 1-2 days to prepare and pour the foundation, followed by another 1-2 days to construct the base
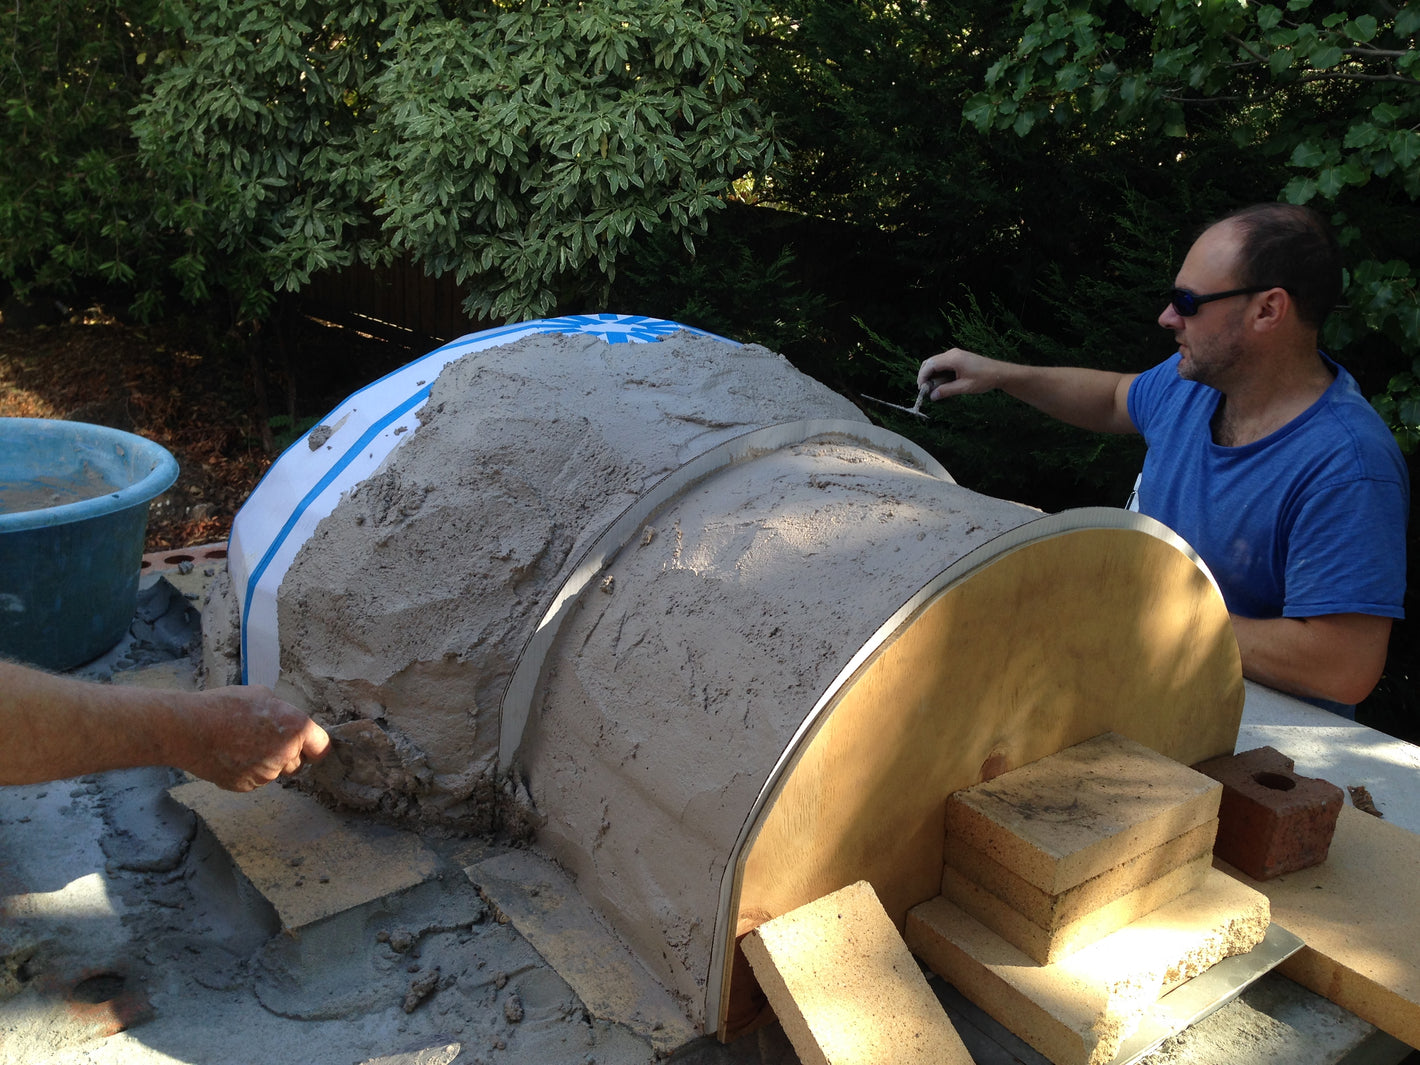
- Refractory Cement Application: Complete the application of refractory cement layers in a single day. Ensure the cement remains moist during application to promote bonding and prevent cracking. Typically, refractory cement requires approximately 24-48 hours to cure fully, depending on environmental conditions such as temperature and humidity.
- Finishing Coatings: Allow 1 week for applying additional coatings or finishes.
- Drying and Curing: Dedicate an additional 1-2 weeks for the oven to dry and cure fully. During this period, keep the oven covered and shielded from moisture.
- Curing Burns: After the drying period, perform several small fires or "curing burns" over a few days to a week to gradually heat the oven and eliminate any remaining moisture.
In total, expect the construction of your DIY pizza oven to take approximately 2-3 weeks. This timeframe allows for each stage of the process to be completed thoroughly, resulting in a well-built and durable outdoor cooking appliance ready for use.
-

So how much will it cost?
It's All Up to You!
Whether you're ready to go all out or get creative with what you have, the choice is entirely yours. Here's a rough cost breakdown for the 900mm setup:
- Cardboard Mould: $220
- Refractory Cement (8 Bags 25kgs): $460
- Ceramic Fiber Insulation Blanket: $140
- Stainless Steel Chimney: $100
- Stainless Steel Door: $65
- Foil or Silver Sided Builders Foil: $30
- Firebricks: $250
- Chicken Wire: $20
- Cement Render Decor: $100
Total Cost: $1385
Remember, prices may vary depending on location and supplier. So, whether you're going all out or keeping it budget-friendly, you have the freedom to create the pizza oven setup that suits your style and needs.


-
What kind of stand do I need?
You'll need a sturdy one! Something capable of supporting the weight of your pizza oven, which can exceed
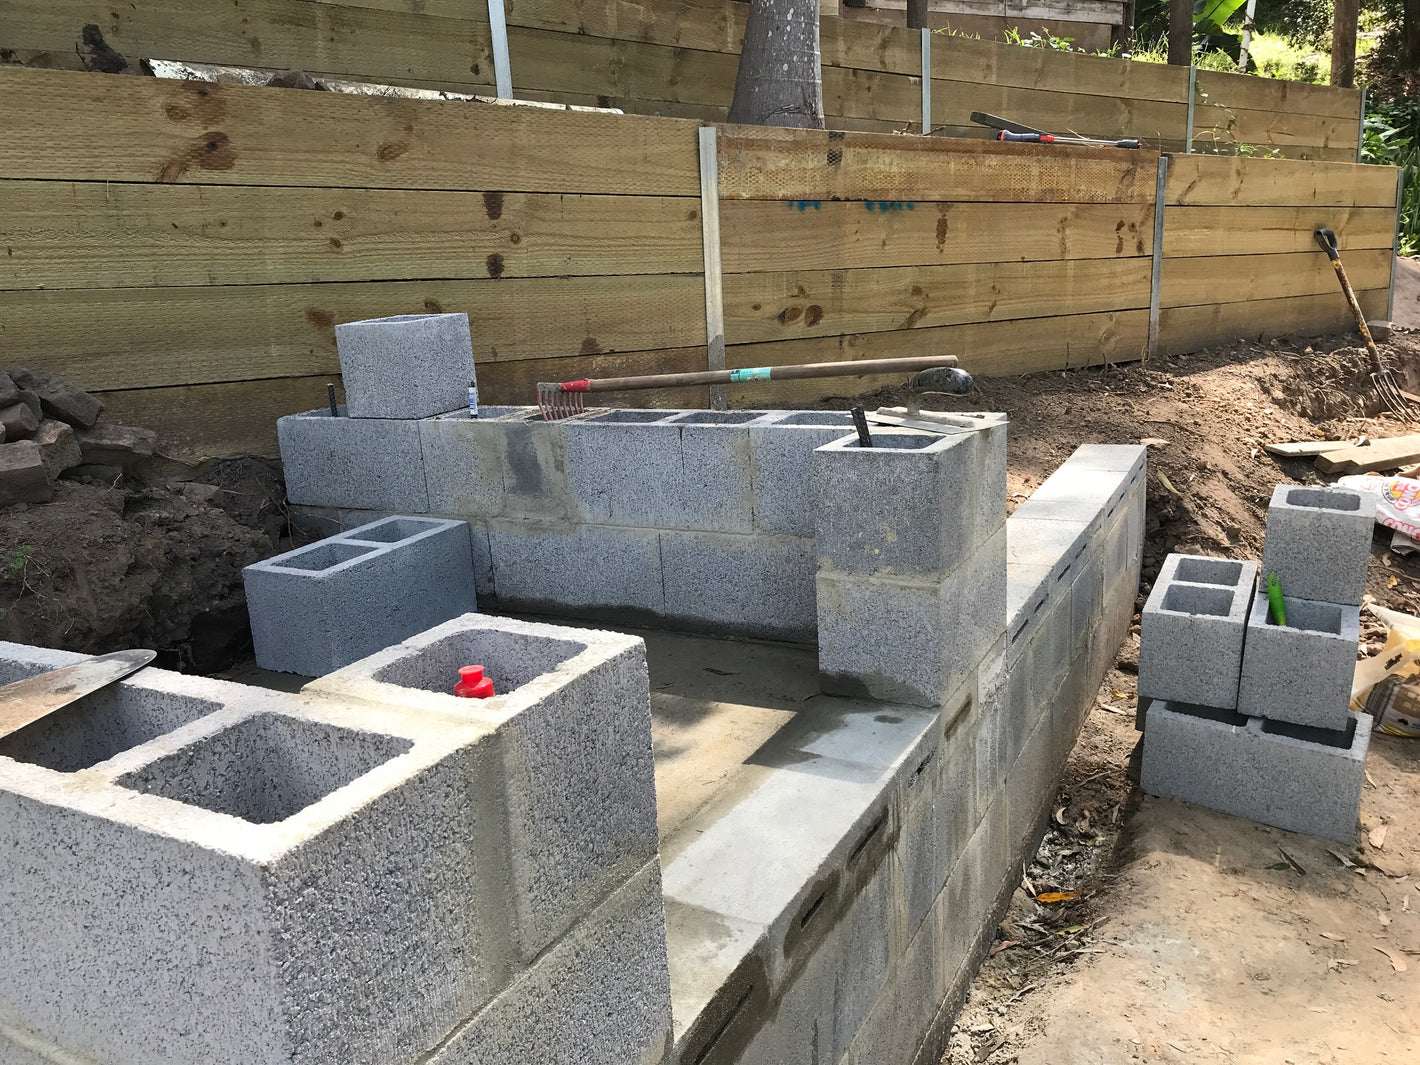
half a ton.When building a base for a pizza oven, several factors need to be considered to ensure stability, durability, and proper functionality. Here are some key factors to factor in:
- Weight Bearing Capacity: The base must be able to support the weight of the pizza oven, which can be considerable, especially for larger models. Consider the weight of the oven, insulation materials, and any additional features or accessories.
- Foundation: A solid foundation is essential to prevent settling or shifting over time. Prepare a level and sturdy base, such as a concrete slab or compacted gravel pad, to support the weight of the oven and distribute it evenly.
- Materials: Choose suitable materials for constructing the base, such as bricks, concrete blocks, or precast concrete slabs. These materials should be able to withstand the weight and provide a stable surface for the oven.
- Dimensions: Determine the size and shape of the base based on the dimensions of the pizza oven and any additional space needed for preparation or storage. Ensure the base is large enough to accommodate the oven and provide adequate clearance around it.
- Ventilation: Proper ventilation is essential to prevent heat buildup and ensure the longevity of the base structure. Incorporate ventilation openings or gaps in the base design to allow air circulation and prevent moisture buildup.
- Weather Resistance: Consider the local climate and weather conditions when designing the base. Choose materials that are resistant to moisture, temperature fluctuations, and other environmental factors to ensure durability and longevity.
- Accessibility: Ensure easy access to the pizza oven for loading and unloading pizzas, as well as maintenance and cleaning. Plan for adequate space around the oven and consider adding features such as shelves or countertops for convenience.
- Design Aesthetics: While functionality is paramount, consider the aesthetic appeal of the base design to complement the overall look of your outdoor cooking area. Choose materials, colors, and finishes that enhance the visual appeal of the space.

-
What is refractory cement and where do I find it?
Refractory Cement: Crafting Heat Resistance
Refractory cement stands strong against scorching temperatures, an essential for fireplaces, furnaces, and the heart of homemade pizza ovens. Composed with care, it promises durability, thermal stability, and structural resilience.
Components of Refractory Cement:
- Alumina: Aluminum oxide (Al2O3) fortifies with high-temperature resistance, binding refractory aggregates into a steadfast whole.
- Silica: Silicon dioxide (SiO2) fosters workability and thermal steadiness, filling in gaps between aggregates for heightened density and strength.
- Calcium Aluminate: Adds an extra layer of bonding, elevating the overall endurance of the cement.
Selecting the Right Refractory Cement for Your DIY Pizza Oven:
- Temperature Rating: Ensure your cement can brave temperatures surpassing 1000°C.
- Composition: Seek out a blend boasting alumina, silica, and calcium aluminate for optimal heat resilience and durability.
- Mixing Ratio: Follow manufacturer guidelines for a perfect blend every time.
- Setting Time: Opt for a product with a setting time tailored to your project's pace.
- Application Method: Check compatibility with your chosen application method, whether casting, troweling, or pouring.
25kg Bags Required for Moulds:
- 700mm: 5 bags
- 800mm: 6 bags
- 900mm: 8 bags
- 1000mm: 10 bags
- 1100mm: 12 bags
Searching Online for Refractory Cement Suppliers:
🔍 Refractory cement suppliers
🔍 High-temperature cement suppliers
🔍 Refractory castable suppliers
🔍 Heat-resistant cement suppliers
🔍 Furnace cement suppliersCopy and paste these search suggestions into your preferred search engine to discover suppliers for your DIY pizza oven project.
-
What you'll need
- Masking Tape: Holds your pizza oven mould together during assembly.
- Acrylic Paint: Seals and protects the cardboard from moisture, enhancing durability.
- 6-inch Flue: Allows smoke and gases to escape for proper airflow.
- Metal Door: Provides easy oven access and traps heat for consistent cooking.
- Ash Pit: Optional but handy for maintaining cleanliness and temperature control.
- Fire Bricks: Create a sturdy, heat-resistant cooking surface.
- Calcium Silicate Insulation: Ensures consistent cooking temperatures by trapping heat.
- Refractory Cement: Bonds oven components for strength and durability.
- Fire Cement: Seals gaps for maximum heat retention.
- Insulation: Keeps the oven hot and efficient.
- Chicken Wire: Adds structural stability and holds insulation in place.
- Wire Tie Downs: Secure all components during construction.
